

DIY Club – Women Only – Late Autumn 2024
DIY Club – Women Only – Weds Evening – Early Autumn 2024

Nailing it! DIY for Beginners (Weekend)

DIY “Next Steps”
DIY “Next Steps”
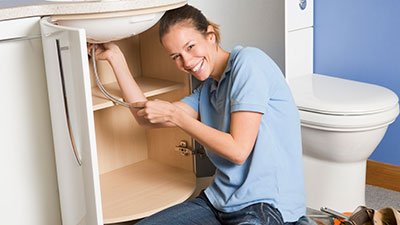
More DIY Plumbing – Taps, Traps & Wastes
More DIY Plumbing – Taps, Traps & Wastes

Essential Home Plumbing