Inclusive DIY Club for Beginners – Late Autumn
by
Caroline Henn
|
Jul 22, 2024
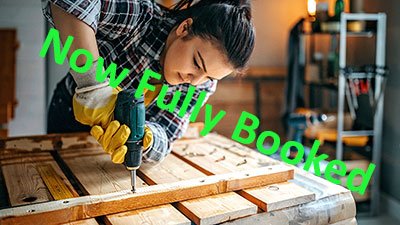
Nailing it! DIY for Beginners (Weekend)
by
Caroline Henn
|
Jul 20, 2024
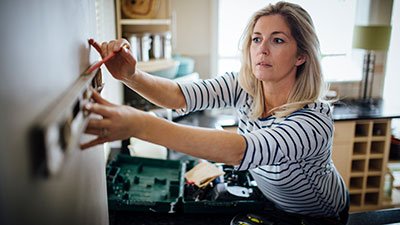
DIY “Next Steps”
by
Caroline Henn
|
Jul 4, 2024
DIY “Next Steps”
by
Caroline Henn
|
Jul 4, 2024
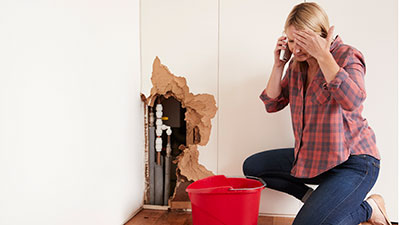
Essential Home Plumbing
by
Caroline Henn
|
Jul 4, 2024
Essential Home Plumbing
by
Caroline Henn
|
Jul 4, 2024
Essential Home Plumbing
by
Caroline Henn
|
Jul 4, 2024
Essential Home Plumbing
by
Caroline Henn
|
Jul 4, 2024
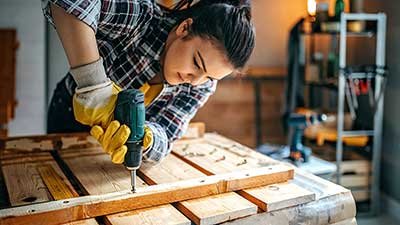
Nailing it! DIY for Beginners
by
Caroline Henn
|
Jul 4, 2024
Nailing it! DIY for Beginners
by
Caroline Henn
|
Jul 4, 2024
« Older Entries
Search for:
Recent Useful Advice
How old are your Smoke Detectors?
Boiler Condensate Pipes
Electrical Safe Zones
How to re-pressurise a Boiler
Help, I have no Power….