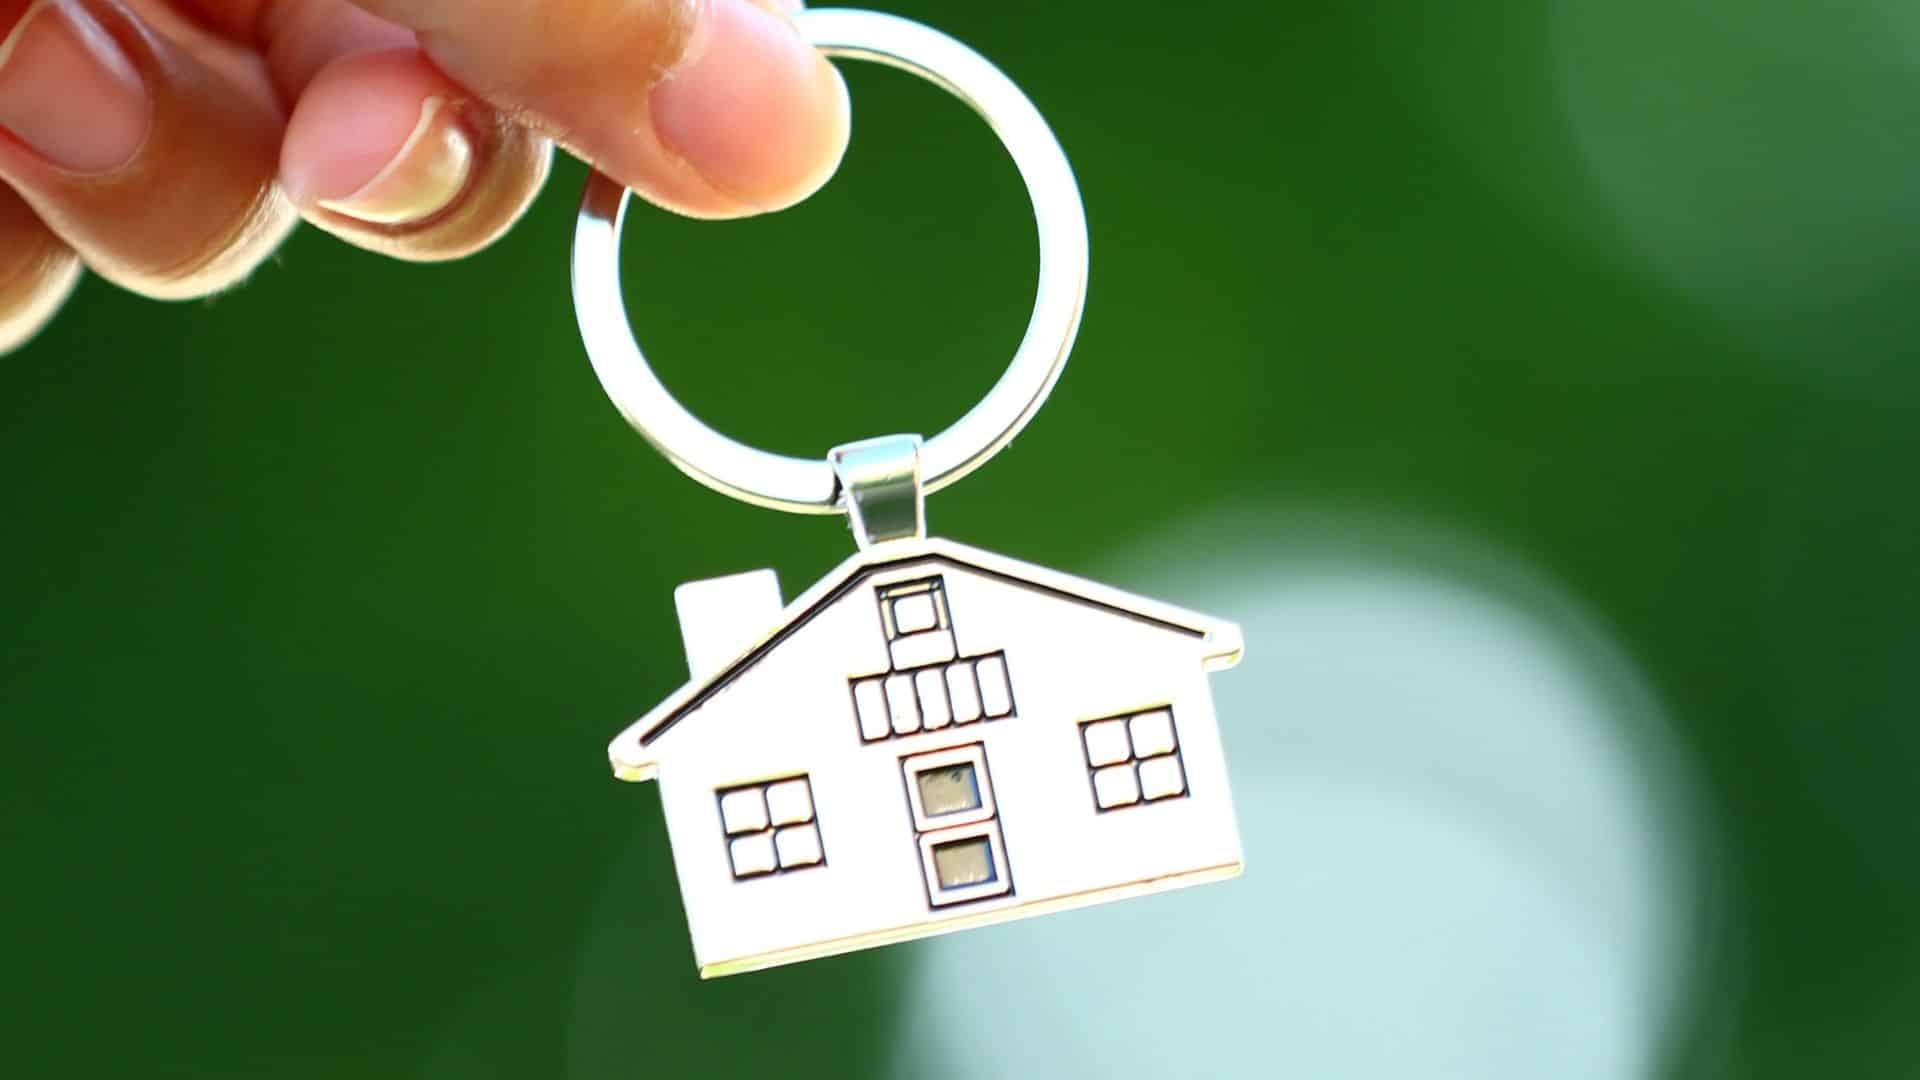
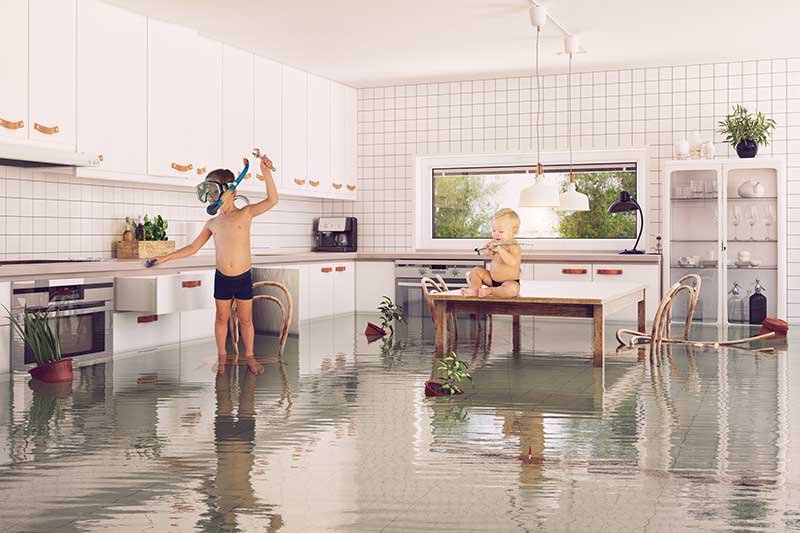
Electric Showers – what you need to know

Electric Showers – what you need to know

What is an Electric Shower?

Unlike traditional “Mixer” showers, electric showers only require a cold water supply, which they heat up instantly as you stand beneath the spray.

With a safety cut-out feature, you can enjoy your shower without worrying about getting scalded if the water supply suddenly drops.

Why choose an Electric shower?

Sometimes, a balanced supply of hot and cold water from a boiler may not be available in your home. In such cases, an electric shower is the ideal solution. It ensures that you always have a refreshing shower, regardless of the water pressure in your house.

So how do Electric Showers work?

Electric Showers  are directly connected to your cold mains supply and contain a heating element that warms up the water as it flows through, a bit like a sophisticated kettle.

The faster the water flow, the more power the shower needs to heat the water up. This is why it’s essential to have a properly installed electric shower with the correct cable size to prevent overheating and potential hazards.

This is where one of the main safety issues surrounding Electric Showers becomes apparent.

Fitting an Electric Shower is NOT a DIY project

We’re going to keep saying this….

Who should fit an Electric Shower?

*When it comes to fitting an electric shower, it’s crucial to seek the expertise of an Electrically Competent Person*. 

(*This is actually a defined term, which means someone who has sufficient knowledge and training to comply with Part P of the Building Regulations.)

With their knowledge and training in compliance with building regulations, they will ensure a safe and efficient installation.

Should an electric shower be installed by a Plumber, an Electrician or maybe a Handyperson? 

There’s no easy answer. Water and Electricity mixed together can be very dangerous. Because of this, Bathrooms are regarded as “Special Locations” for electrical work. What we can definitively say, is that an electric shower must be installed by an Electrically Competent Person. 

Fitting an Electric Shower is NOT a DIY project

….nor is it a job for an unqualified Handyperson….

What size Electric Shower should I choose?

So, there you are shopping in one of those lovely DIY stores, where there is a range of shiny new electric showers on display.

You need to replace your shower; its got a bit drippy, is looking a bit limescaly, or has gone that lovely yellow-plastic colour through age.

Time for an upgrade!

So many different sizes to choose though. Surely the more powerful the shower, the better showering experience you’re going to have. 

This is where the DIYer can come seriously unstuck, & put themselves and other users in danger

However the choice may not be down to you. The decision will be dictated by several things:

  • The size & quality of the cable supplying the electric shower
  • The length of the Cable run from your Consumer Unit (Fuse box)
  • The material through which the Cable runs.
  • (I have seen cables melted because they are running through newly-installed Loft Insulation)

These are all questions which an Electrically Competent Person is going to consider, before advising you which size shower to choose.

You may not even know that you should be asking these questions, let alone how to find out the answers.

The most powerful electric shower will generally need a very big cable. This will increase in size, as the length of the cable increases.

As a rule of thumb, Big Cables are much more expensive than smaller Cables!

If your existing electric shower has been there for a long time, the chances are that it may only be supplied by relatively small cable, which will not cope with the demands of a more powerful shower. You may need a whole new, much larger cable, to be installed. 

Installing new cables can be disruptive, messy & expensive.

Does the person installing your Electric Shower know this?

The Dangers of Loft Insulation

Loft Insulation is generally a very good thing. We should all be making sure that we insulate our lofts. It will keep heat in, make our houses more thermally efficient and save us money.

However, electrical cable and insulation need to be thought about carefully. If you cover all the electrical cables in your loft with insulation, this may affect the cable’s ability to carry current.

When the cables were originally installed, there may not have been very much insulation in your loft, so the cables were fine.

Now that your loft has 150 or 200mm of lovely warm insulation lying over the top of it, the cable is no longer able to do its job properly.

Cables supplying Showers are particularly at risk. On several ocasions I have found shower cables in lofts showing signs that they are melting. Even the cable clips have begun to melt.

This is very dangerous. I have spoken to people who install insulation in loft spaces for a living, who were unaware that this is an issue that they should be aware of, and taking into account during their insualtion.

I’m sure many of us have seen the Loft Insulation Installations carried out “under grant” where it looks as though the loft insulation was installed, by throwing it liberally  about the loft from the loft hatch. I’m prettty confident that the well-being of any cables being covered by the loft inulation was not a consideration.

Important Messages

  • Seek advice from an Electrically Competent Person before replacing an electric shower.
  • Make sure you choose the correct person to install an Electric Shower. If you ask for a quote from an Electrically Competent Person, and then find someone who "can do it cheaper," please make sure that they are competent.
  • If you are insulating your loft, please make sure that you are not covering up cables and creating a potential fire-hazard
  • Installing an Electric Shower is NOT A DIY PROJECT

Fitting an Electric Shower is NOT a DIY project

How old are your Smoke Detectors?

How old are your Smoke Detectors?

Which Birthday will your Smoke Detectors be celebrating this year?

Are your Smoke Detectors still looking gleaming white?

If they are beginning to take on that yellowing plastic look, it may be that they are approaching, or possibly have already celebrated, their 10th Birthday without you even noticing.

I know, I know, another one of those things that you need to check. There seem to be so many these days.

Anyway, back to the Smoke Detectors….

Generally Smoke & Heat Detectors are regarded as a “Good thing.”

You may not feel quite so well-disposed towards them when they start chirruping at you at 3 o’clock in the morning to tell you that their back-up battery is flat, but when they are just getting on with their job, they’re definitely a good thing.

In fact they’re such a good thing, that we electricians are required to install them a lot more often these days.

Very importantly, Landlords are required to make sure that they are installed and working properly in their rental properties.

This is probably something to do with the fact that they save lives.

Inter-connected Smoke Detectors

Nowadays, we encourage people to install inter-connected mains-operated detectors with a back-up battery.

Inter-connected means that if one detector is activated, the rest of them all join in and make sure that there’s absolutely no way that you can sleep through the issue.

Mains-operated means that they aren’t going to stop working, just because the battery has gone flat, or you’ve removed the battery in a rage in the middle of the night, and forgotten to put it back.

Why replace Smoke detectors?

Unfortunately, like a lot of good things, Smoke Detectors have a shelf life. In the case of Smoke & Heat Detectors, this is about 10 years, but can be as low as 7 years. They should have a date of manufacture and Expiry Date somewhere nice and visible.

It may be time to get a step ladder out just to check.

If the expiry date is in the past, then it’s time to replace your Smoke & Heat Detectors.

Many of the quality makes of Smoke & Heat Detectors allow you to retro-fit with very little effort.

Basically you can leave the base connected in the ceiling, so don’t have to touch the wiring, then slide or twist the detector off the base, and replace it with a new one.

Job done! No electrician required.


Why are there different types of Detector?

It can be a bit confusing, but here’s a quick summary….

Heat Detectors

Heat Detectors are designed to go in your Kitchen, Garage, or dusty areas. As the name suggests, they wil be triggered by an increase in heat, approx 55 degrees. They are not going to be set off by you burning the toast, or your Sunday Roast. They are less susceptible to dust than Optical and Ionisation Smoke Detectors.

Ionisation Smoke Detectors

Ionisation Smoke Detectors are the old style smoke detectors. They are being phased out and replaced by Optical Smoke Detectors. They are most sensitive, and are a bit more prone to false alarms.

Optical Smoke Detectors

Optical Smoke detectors  are replacing the old Ionisation Smoke Detectors.

Ideally they should be installed in Bedrooms, Hallways, Living spaces (except Kitchens).

They will detect smouldering smoke, but are sensitive to dust, so if you need to install a detector in a dusty area, then you should use a Heat Detector instead.

Replacing old Smoke Detectors

Some makes and models of smoke detector have stopped being manufactured. This can be annoying  if you want to leave the base in position and just replace the detector itself, without calling in an electrician.
Safelincs have a useful guide to compatible makes and models on their website.
Not all makes and models are replaceable, but some are, so its worth checking, just in case. It could save you some money.

Upgrading yor Smoke Detectors

If you need to upgrade your Mains-operated Smoke detectors, you will need to call an electrician in. 

We often fit AICO Detectors, because AICO make it easy for customers to retrofit detectors in the future.  They also make it easier to add additional Detectors in areas where it would be awkward or expensive to run new wiring.

Basically they allow you to create hybrid systems with mains and battery-operated detectors talking to each other.

They also have a range of Smart Detectors for those of us who like our doorbells and washing machines to chat to us on our mobile phones while we’re away from home. An exciting world of conversations with your smoke detectors awaits you, if you decide to go down that route.

Anyway, back to the point. Please check your Smoke Detectors and make sure that they are still in date. If they aren’t, please do something about it. Don’t leave it until it’s too late.

At the risk of sounding a bit doom laden, anyone who charges a battery in their home, particularly a larger battery for a bike or scooter, has the potential for an issue, so please…

MAKE SURE YOU ARE PROTECTED

Electrical Safe Zones

Electrical Safe Zones

Where is it DANGEROUS to drill in a Wall?

This is, understandably, a very important thing to know. There are 3 main areas where you can definitely expect cables to have been run:

Image provided by Elecsa
1. Where two walls meet

An area 150mm (6 inches) wide along the top of the wall where it meets the ceiling.

2. Horizontally either side of a switch or socket

In a straight line either side of a socket/switch/fused spur etc. The line is the height of the socket/switch. It runs all the way to the adjoining walls, or an obstacle, such as door or window.

3. Vertically above and below a Socket or Switch

In a straight line above and below a socket/switch/fused spur etc. The line is the width of the socket/switch. It runs all the way to the floor and ceiling.

Very Important: 

If the wall is less than 100mm (4 inches) thick, then the safe zones operate on both sides of the wall. Bear this in mind when you are drilling from a different room!

Very Very Important:

Electricians in the past did not have these rules. Cables could be, and were run in all sorts of odd places.

We have found cables run diagonally across walls, doing sudden 90 degree bends and all sorts, so beware. 

If you suspect that someone in the past has carried out some electrical DIY work in your house, it is quite possible that they did not know about Safe Zones. They may have run cables wherever was most convenient for them, not always in the safest place.

If your current consumer unit does not have a functioning, healthy RCD, in fact, if you have any doubts at all,

TURN OFF THE CONSUMER UNIT BEFORE YOU DRILL

Where is it safe to drill in a Ceiling?

The rule that electricians should follow is to run the cables through the joists, as close to the centre of the joist as possible, at a depth of at least 50mm from the top and bottom of the joist. i.e 50mm from the ceiling/floor.

It is not always possible to follow this rule. There are often existing holes and notches in a joist. It is extremely likely that in the past, cables will have been run all over the place.

It is also quite possible that cables can be lying on top of plasterboard ceilings.

Because it is not always possible to run cables this way, the current electrical regulations allow cables to be run outside the zones, provided they are protected by an RCD.

If the wiring in your house is old and you have a Consumer Unit which does not have an RCD, then you should be even more cautious. 

If you have any doubts…..

TURN OFF THE CONSUMER UNIT BEFORE YOU DRILL

Where is it safe to drill in a Floor?

As with ceilings, the rule that electricians should follow is to run the cables through the joists, as close to the centre of the joist as possible, at a depth of at least 50mm from the top and bottom of the joist. i.e 50mm from the floor.

It is not always possible to follow this rule. There are often existing holes and notches in joist, and it is extremely likely that in times past, cables have been run all over the place. It is also extremely likely that gas & water pipes have also been run under the floorboards through notches in the joists, (in which case, it is worth checking very very carefully first) 

Because it is not always possible to run cables this way, the current electrical regulations allow cables to be run outside the zones, provided they are protected by an RCD.

If the wiring in your house is old and you have a Consumer Unit which does not have an RCD, then you should be even more cautious.

If you have any doubt,

If you have any doubts…..

TURN OFF THE CONSUMER UNIT BEFORE YOU DRILL

Help, I have no Power….

Help, I have no Power….

I can’t promise that this is going to be an exciting read. I’ll do my best, but, unless you’re a complete electrical nerd, this is probably not going to really light your fire.

However, it may get you out of a tight spot in an emergency, and save you alot of money. Faced with a sudden loss of power,  many people, understandably,  panic and call out an electrician, when, with a little knowledge & patience, they can sort the issue themselves. 

What is an RCD?

It helps you know why we have an RCD, or Residual Current Device. Its a safety device which is now, fortunately, pretty common in most domestic electrical supplies.

If you’re not sure whether you have one, it should look something like this:

There will usually be a small reset button on it, sometimes red, yellow, blue or black – basically down to manufacturer’s preference. This button should have TEST written somewhere near it. As the name suggests, this button allows you to test that the RCD trips. 

It will either have RCD, RCCB or RCBO written on it. 

How does an RCD work?

An RCD measures the current in the circuits that it controls. It measures the current leaving and returning. If there is an imbalance, it assumes that some of the current has leaked out and is causing a danger. (Leaking current could be going into an object that you may touch, such as metallic light fitting, or into you, because you are laready touching it). This is generally regarded as a very bad thing.

The current is immediately (or, at least within a few milliseconds) switched off and there is no longer any power.

This bascially means that you won’t be electrocuted, and is therefore a very good thing.

How do I reset an RCD?

RCDs are designed to be reset. Sometimes they trip for no apparent reason. They can be tripped by a lightbulb blowing. It isn’t always an indication of a problem. 


Nerd alert….


Just as an aside that you can happily skip until another day…. the number of electronic pieces of equipment that we have in our houses these days is creating a problem for older style RCDs. Electronic equipment often leaks a bit more current to earth than these RCDs, can deal with, so we are likely to get more nuisance RCD tripping than we used to. This is being addressed by the introduction of new types of RCD that can identify this kind of earth leakage. These are now being installed in new installations as a matter of course. However, if you have an older type of consumer unit, and you are getting regular RCD tripping, it may be time to call in an electrician to help you deal with it).


Anyway, back to the real reason we’re here…..

If the lever on an RCD is in the DOWN position, it is OFF. To reset it, the lever simply needs to be pushed back UP.

Useful tip: For some RCDs, it is necessary to push the lever fully downwards before it will let you push it back UP and reset.

In many cases, this will be fine. The RCD will reset and all will be well.  You can now stop reading, pat yourself on the back & go and put the kettle on.

My RCD won’t reset. What should I do?

When I am called to a house where an RCD keeps tripping, this is the first question I ask:

What happened just before the RCD tripped?

It probably seems obvious, but when you’re dealing with what seems like an emergency, we often miss the obvious. Let’s face it. RCDs don’t trip when you have time to deal with them, they choose the most inopportune moments, such as when you’e about to put the turkey in the oven on Christmas Day, or when the kids are filthy dirty from some sporting activity, and need to get into the bath. The pressure is on, and you don’t have time to think.

If you were in the house when the RCD tripped, ask yourself what happened just before the RCD tripped. If you had just turned the Kettle on, or switched on the Iron or (common culprit) Hair-straighteners, there’s a possibility that this may be the cause of the problem.  Do the obvious thing, and fully unplug the Kettle/Iron/Hair-straighteners and reset the RCD. (i.e switch off and remove the plug from the socket).

If the RCD resets and stays reset, then you have probably found your culprit. 

The problem appliance can be dealt with in slower time. You have power, so you can pat yourself on the back,  stick the kettle on (unless its the culprit) & move on. 


The next question you might want to ask yourself is….

Did I just drill through a cable?

If you just drilled through a wall and the RCD tripped, there may be a strong link between the two events. It is quite possible that you may have drilled through, or otherwise damaged a cable. If you didn’t check the positions of cables prior to drilling, you have just learnt a useful, but possibly quite expensive lesson. Its time to call in an electrician to repair the damaged cable as soon as possible. It is quite possible that the RCD will not reset until the damage has been repaired.

Next time you get the drill out, it would be worth checking out one of our other posts on the inappropriately named Electrical Safe Zones. Contrary to their name, these are areas where it is actually dangerous to drill, as they could legitimately hide cables.

If you look at the Electrical Safe Zones. post and realise that you did, in fact, drill straight into one of these safe zones, please call an electrician as soon as possible. There may be some brown scorch marks, or even a bit of smoke coming out of the hole – all signs that things are not well.

How do I identify the cause of the fault?

If neither of these scenarios applies and the RCD seems to have tripped for no reason at all, there is a straightforward procedure to follow, which in most cases will identify where the problem lies.

Stage 1:

Your Consumer Unit should be properly labelled. The RCD will be labelled and the fuses (or MCBs) controlled by it, also labelled. Hopefully it will look something like this:

Make a note of the names of the circuits which are covered by the RCD.

Firstly switch off the RCD and all the fuses (MCBs) controlled by it. All the levers should be pointing DOWN

In this case, lets imagine that RCD 2 is the problem. The circuits covered by RCD 2 are:

  • Downstairs Sockets
  • Water Heater (Probably the Boiler)
  • Upstairs Lights

Turn off all those fuses (Lever pointing DOWN). Then unplug everything that is plugged into the Downstairs Sockets.

If the Boiler is also not working, and you don’t have an immersion heater in your house, it is quite likely that the “Water Heater” circuit applies to the Boiler. If it is plugged in, pull the plug out. If it has a fused spur, then pull the fuse out of the fuse holder on the fused spur.

Stage 2:

Now, we need to identify which circuit is causing the problems.

Start with the Downstairs Sockets.

First turn on the fuse (MCB) for the downstairs sockets, and see if the RCD also stays on.

If it doesn’t stay on, check that you have definitely unplugged everything on that circuit.

  • Might there be something plugged in in a cupboard that you had forgotten about?
  • Is there an outside socket?
  • Are the lights under the kitchen cabinets run from a fused spur in the Kitchen?

It is very easy to miss something at this stage, so you may have to really rack your brains. Cooker Hoods are an easy one to miss.

If you are pretty sure that everything has been unplugged and you still can’t reset the RCD, it is time to call an electrician. This scenario (which is pretty unlikely) would suggest that there may be a problem with the wiring or something on the circuit.

If the RCD remains on, then go round and plug in each of the appliances that you previously unplugged. Switch each one on. If at any stage, the RCD trips, you have found your culprit.

If the RCD remains on while you plug everything back in, it appears that the problem isn’t on this particular circuit.

Stage 3:

Move on to the next circuit and do the same thing.

In this case, it is the boiler circuit, so it will just be a case of putting the fuse back in and switching the boiler on.

If the RCD trips at this point, there could be an issue with the boiler. Take a look to see if there are any signs of water under the boiler. A leak from a boiler onto the controls is a common cause of this kind of problem. If you suspect that this is the case, you need to call a Gas or Boiler Engineer.

Stage 4:

Finally turn on the third circuit. In this case, it is the Upstairs Lighting Circuit. To save time,  you have left all the light bulbs in their fittings. If the RCD trips when you turn the fuse (MCB) for the lights back on, take all the lightbulbs out, just in case one of them is causing a problem, and switch the Fuse back on.

If the RCD stays on, put each light bulb back into its fitting in turn. For safety’s sake, make sure that you turn the fuse (MCB) off each time that you put a bulb in, and turn it on once the bulb is in position.  If the RCD trips when you put one of the bulbs back in, then that will be your culprit.

By this stage, hopefully, you may have identified your culprit. However, if the RCD is still not resetting, or turns back on and continues to trip, then it is time to call out an electrician.

Don’t despair…..

You have already saved yourself some money. You have gone through a methodical series of tests to eliminate any obvious issues.

You can tell an electrician exactly what you have done and what the outcome was. This means that the electrician already has a lot of really useful information before they start looking themselves. Believe you me, that makes an electrician’s job an awful lot easier.

Under no circumstances should you start taking a look inside any electrical fixtures and fittings yourself. This is a very dangerous thing to do, if you don’t know what you’re doing. Let’s be honest, you probably wouldn’t know if you were looking at a problem anyway, so why put yourself at risk?

Plumbing issues are generally pretty easy to see – dripping water is pretty visible, & gives you an immediate clue about where to start looking.

Electrical issues are a lot more difficult to find. Electrical fault finding is very like detective work. Any clues that you, as the householder can give, will speed the process up, and ultimately save you money.